Before you start, make sure you’ve read Part Zero: Prepare Yourself and acquired the necessary hardware, network settings, etc.
Create USB installer
Download the Ubuntu 22.04 LTS ISO (latest at the time of update).
Follow the instructions to Create a bootable USB stick.
Install Ubuntu
Plug in the USB stick to any port on a node and power it on. It should boot automatically to the installer. If there is an existing operating system on one of the NVMe disks, it might boot to that. If that happens, you should press F9 during the BIOS boot sequence to bring up the boot menu. Then you can select the USB stick to boot from.
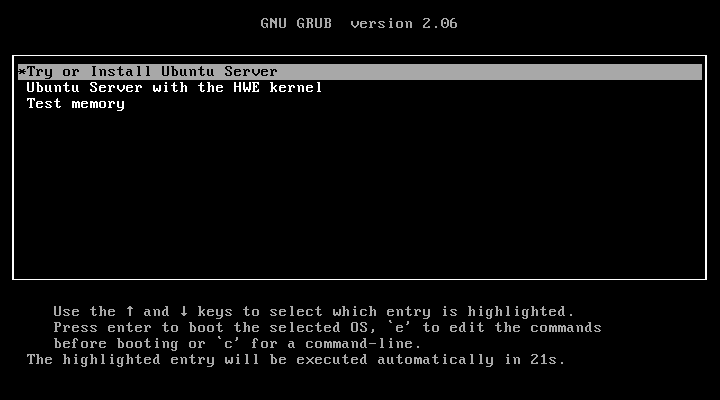
When the installer starts, press ENTER to Install Ubuntu Server:
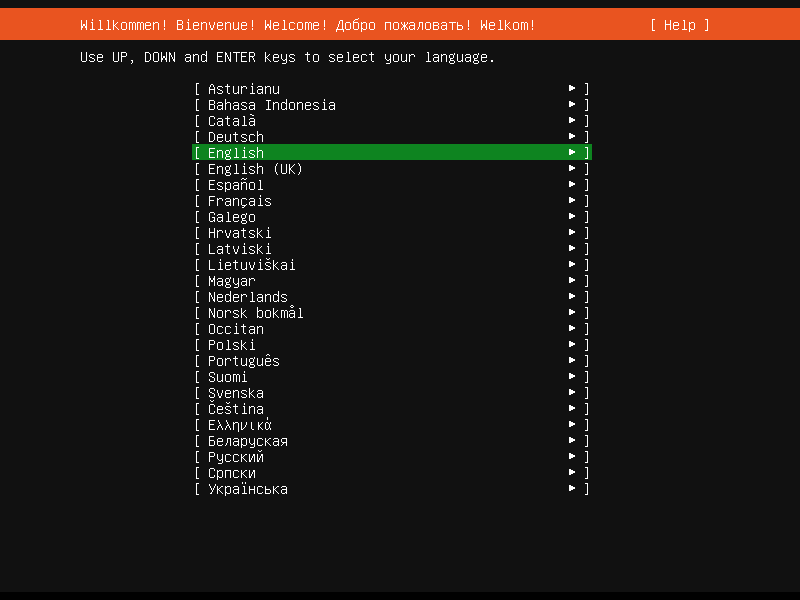
You will prompted to select your language:
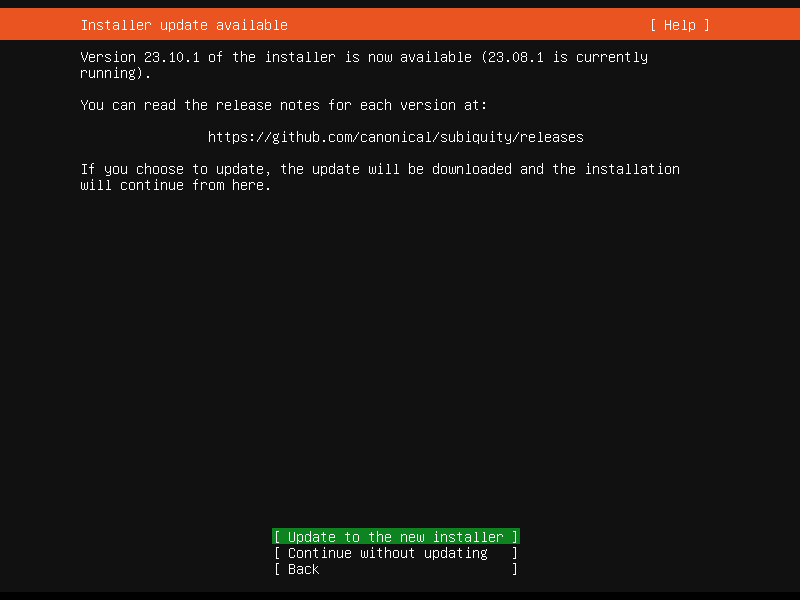
Depending on a few factors, including how recently the ISO was released, you may be prompted to download an updated installer. If you don’t see this, don’t worry about it. Otherwise, it’s best to choose to update to the new installer:
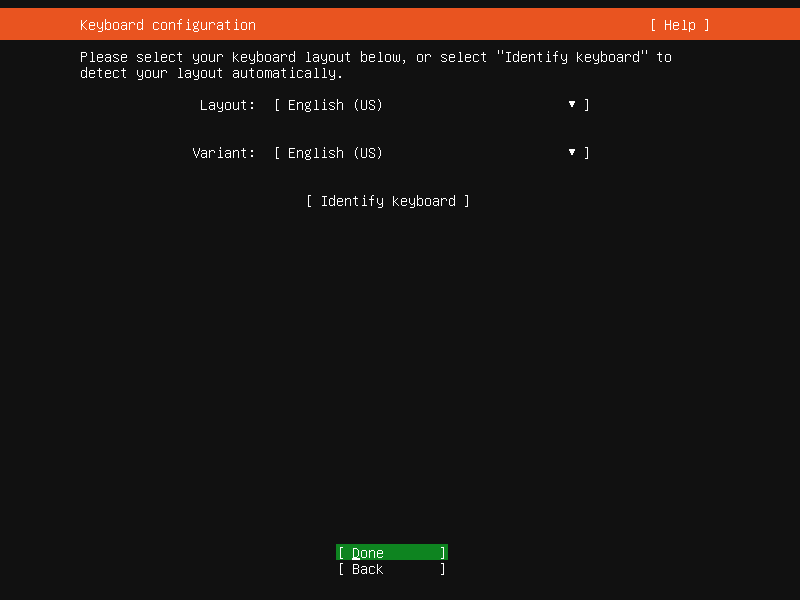
Select your Keyboard configuration:
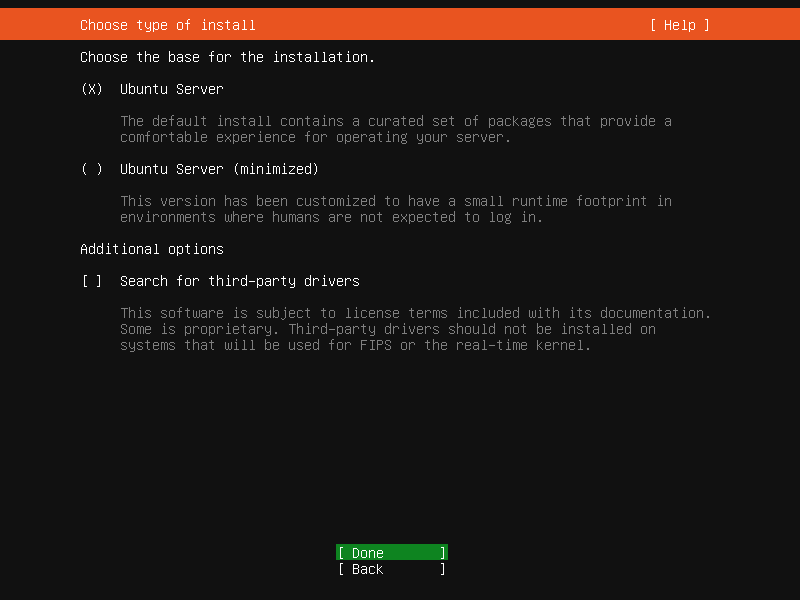
Chose the Ubuntu Server as your base install. Do not select the minimized base install:
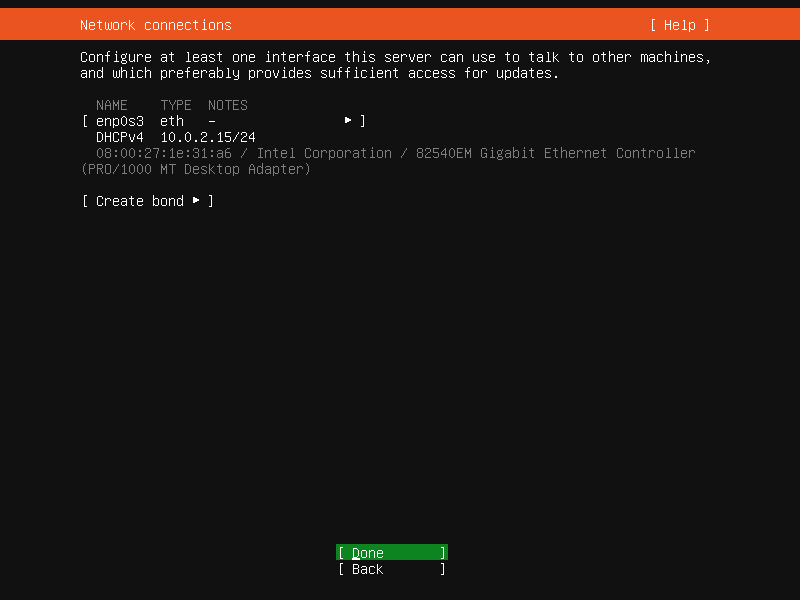
For now, just configure the network connection to use DHCP. A static configuration will be set later:
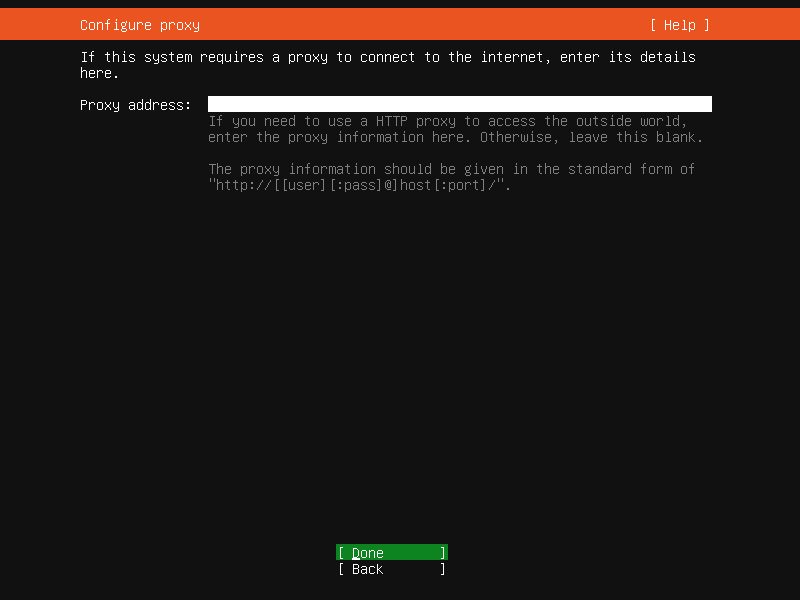
Unless you have an unusual network setup, you probably don’t need to configure a Proxy address. Leave it blank and continue:
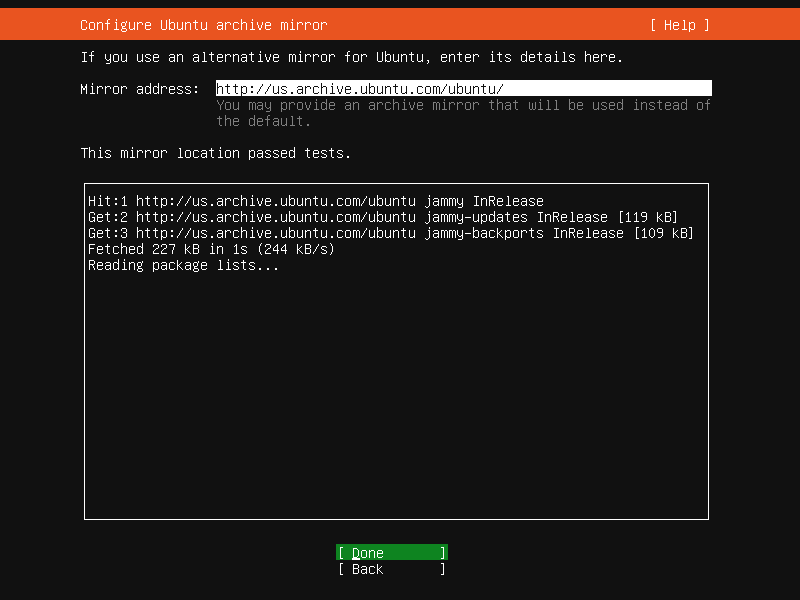
Allow the installer to validate access to the archive mirror. Continue when tests pass:
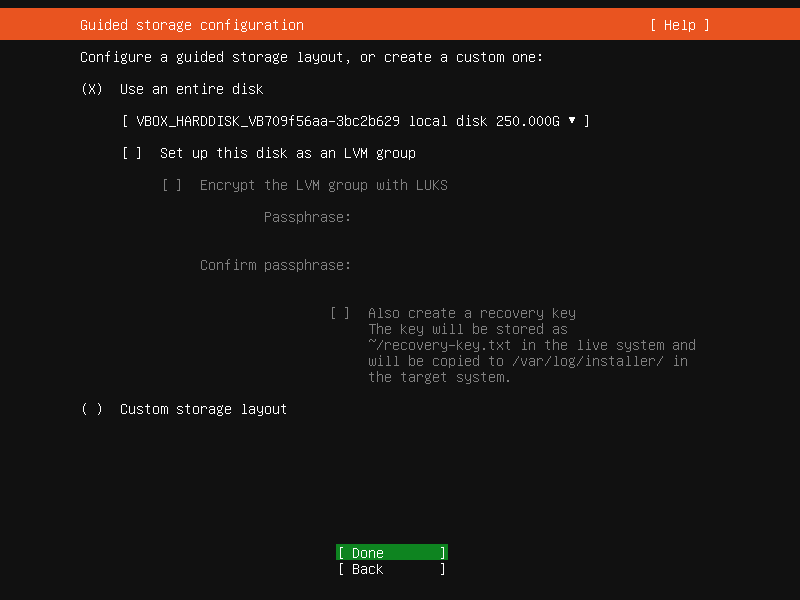
Make sure to choose the smaller NVMe (250gb in this case)! Disable the option to set up an LVM group:
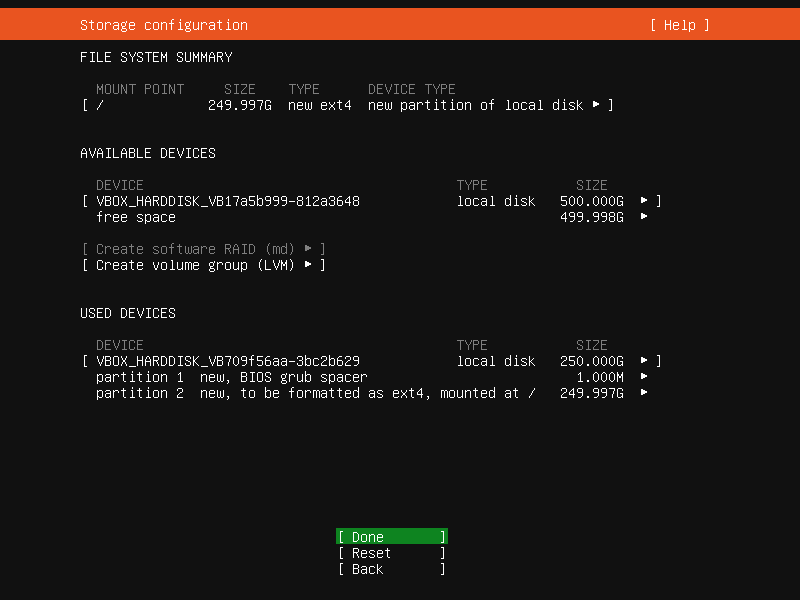
Accept the default storage configuration and continue. Do not configure the 500GB disk at this time:
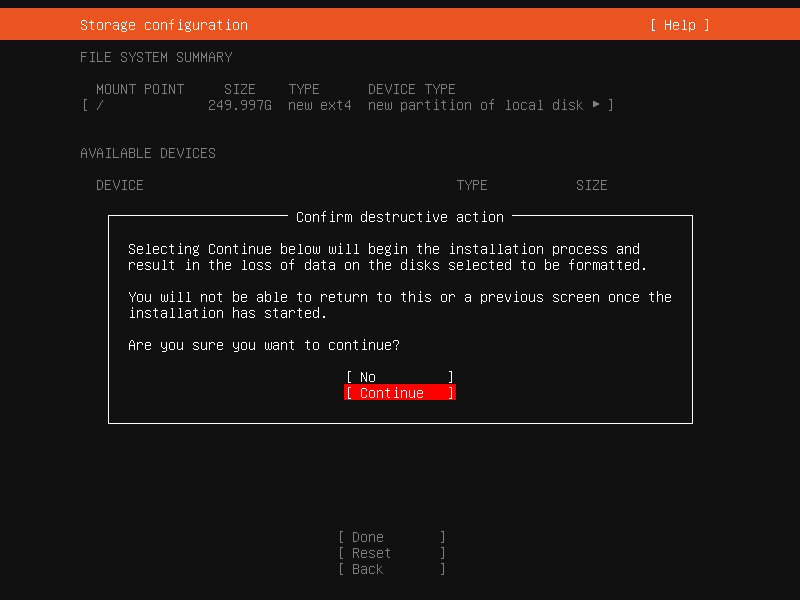
Confirm the storage configuration (it will wipe any existing configuration):
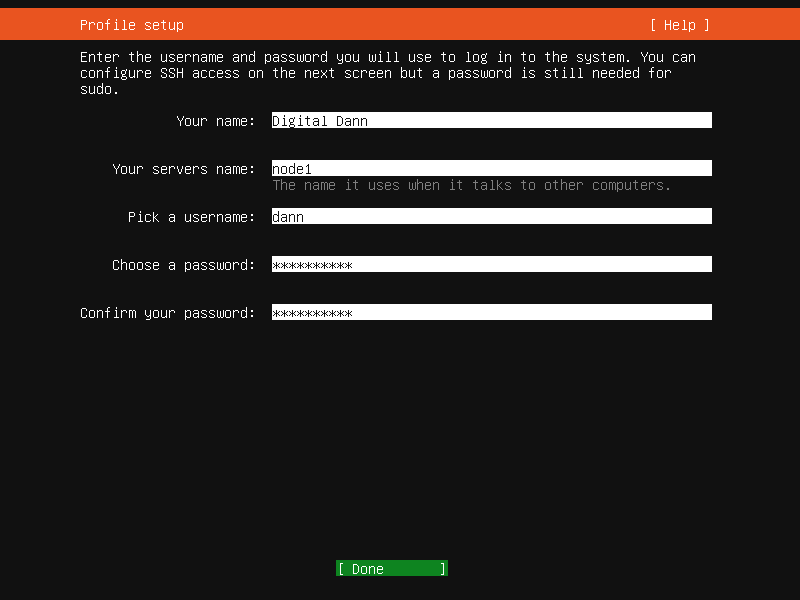
Configure your user profile. Pick a name for your node. Some people like to name their nodes after some kind of pattern or group: lakes, rivers, stars, cars, constellations, etc. For these examples, I use ‘node1’ through ‘node5’:
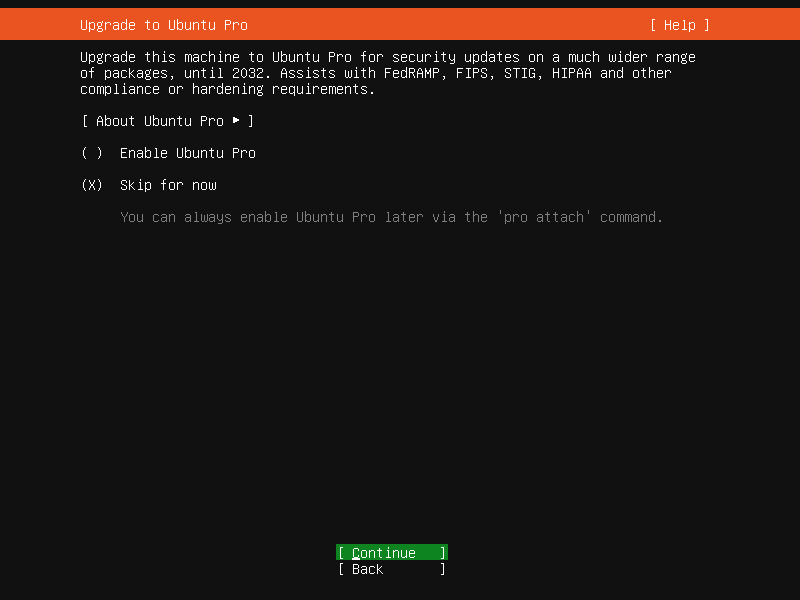
Do not enable Ubuntu Pro, and continue:
Opt in to install the OpenSSH server and continue:

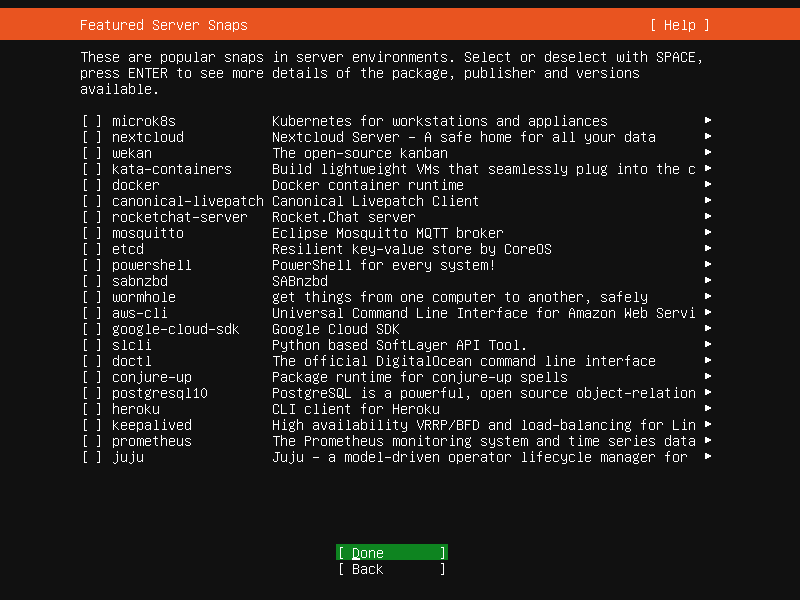
Do not install any of the server snaps and continue:
Wait for the installation of Ubuntu to complete and then choose to reboot:

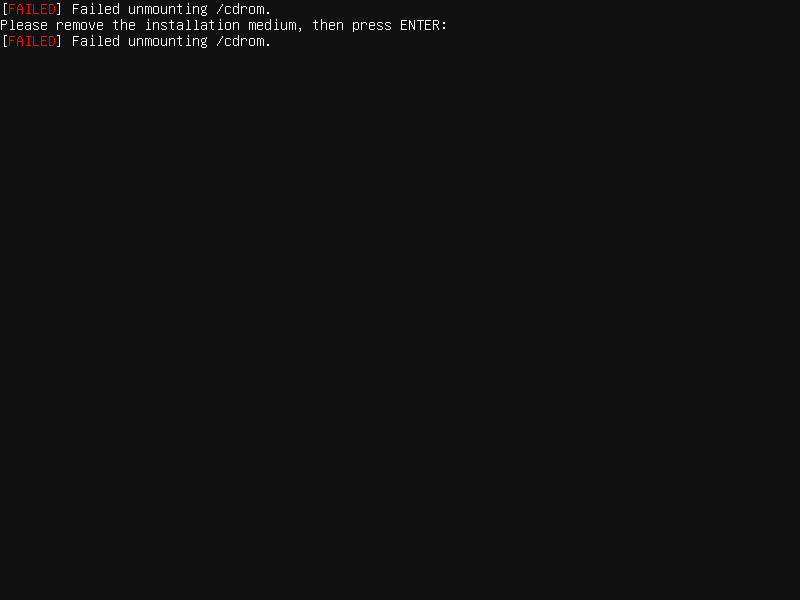
You may get prompted to remove the installation media. If you get prompted for this, just remove the USB stick and press Enter:
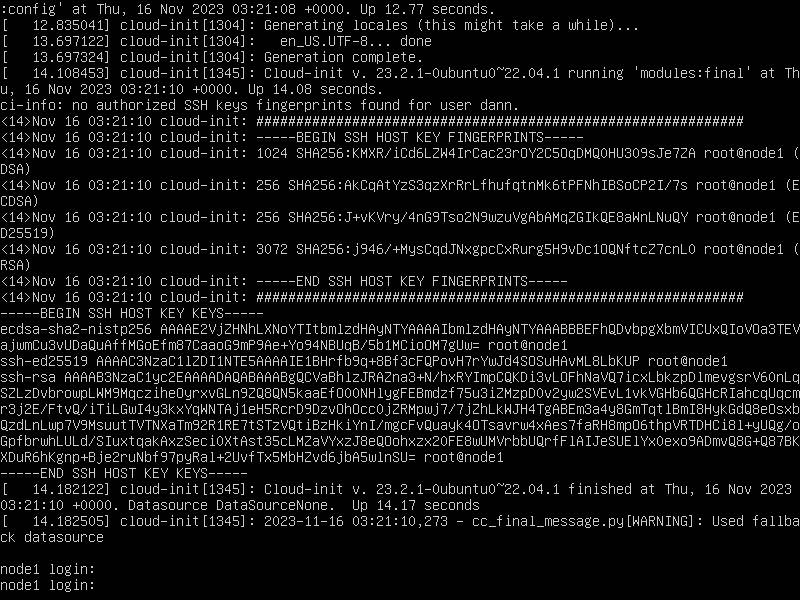
The system will reboot. You will see console output displaying the initial configuration of some services including SSH.

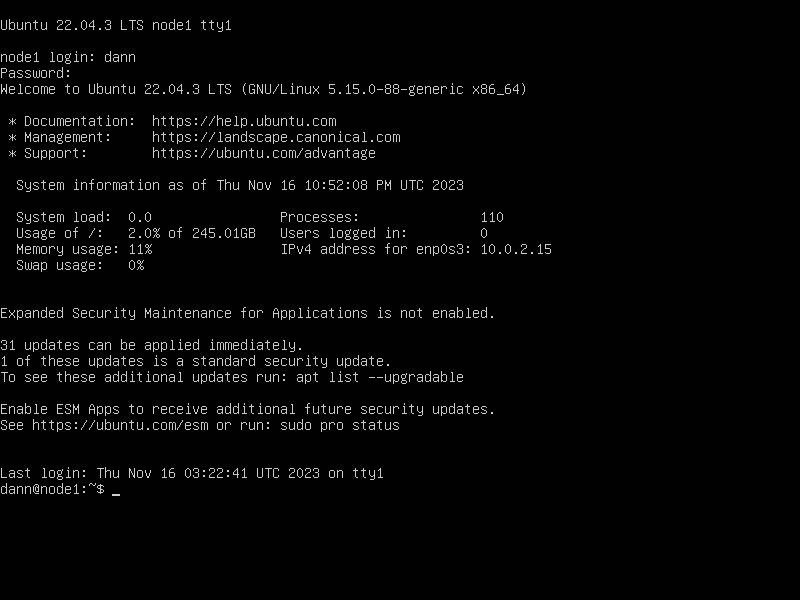
When the console output stops, press Enter a few times and the login prompt should be displayed:
Log into the cluster node with the username and password you setup:
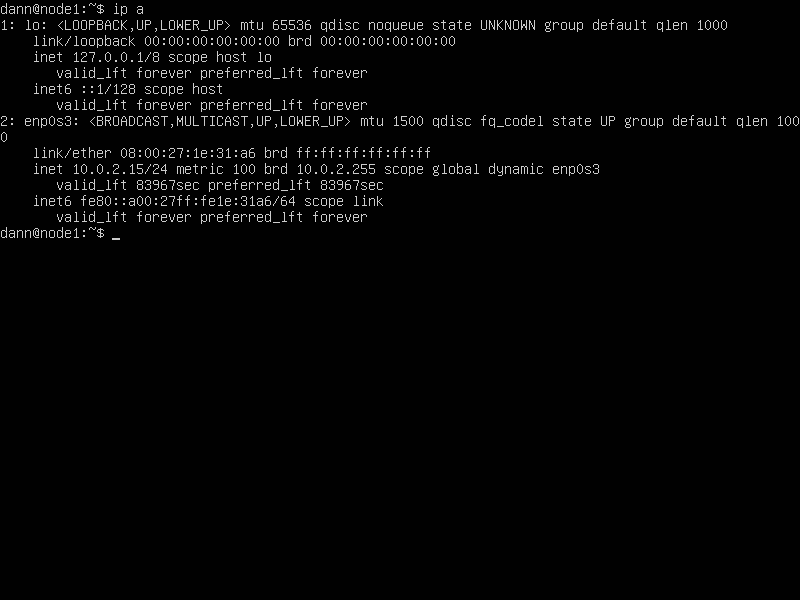
Get the IP address that was assigned to this node via DHCP:
ip a
Now logout of the node (you will perform the rest of the configuration via SSH session):
logout
Configure Ubuntu
Log into the node via SSH using the IP address of the node. Use your username and password to authenticate.
Once logged in, update any packages that are outstanding. You may be prompted for your password. Choose to restart any necessary services if prompted:
sudo apt update && sudo apt upgrade -y
Install ansible. Ansible is a suite of open source tools that allow scripted configuration management. That’s how this installation process is going to be sped up significantly. Choose to restart any necessary services if prompted:
sudo apt install ansible -y
Now that Ansible is installed, you can run Ansible playbooks, which are yaml files that instruct Ansible to perform configuration tasks. I have assembled a playbook with all your next configuration steps. You can download it:
wget https://raw.githubusercontent.com/digital-dann/nomad-cluster/main/configure-ubuntu.yaml
Edit the ‘configure-ubuntu.yaml’:
nano configure-ubuntu.yaml
Set the configuration parameters:
- name: Set Parameters
  set_fact:
    cluster_ip: '10.0.3.101/24'
    cluster_gateway: '10.0.3.1'
    dns_server: '10.0.3.1'
The ‘cluster_ip’ is the address for this node in the cluster.
The ‘cluster_gateway’ is the gateway address for the subnet of your cluster.
The ‘dns_server’ should be a valid DNS server, ideally running in your network. If you run an OpnSense router and run DNS there (I recommend ‘unbound’) then use the address of your router for the DNS server.
Once you have updated the ‘configure-ubuntu.yaml’ file, you should execute it by running:
sudo ansible-playbook configure-ubuntu.yaml
This playbook will do the following:
- Update all the lastest packages
- Configure the currently logged in user to be able to sudo without password prompts
- Install useful packages that might be missing
- Remove installed packages that are useless
- Setup the Docker repository configuration and install Docker
- Install the Docker compose plugin (for Docker 2.0)
- Configure Docker logging limits (so the disk doesn’t fill up)
- Split out cron logging to its own log file (apart from syslog)
- Configure nice color prompts
- Create an static local ‘app’ interface on 169.254.254.254, this will be very useful later.
- Setup the Hashicorp repository configuration (for Nomad and Consul, later)
- Setup the GlusterFS repository configuration
- Configure static networking configuration for your physical nodes
- Apply static networking configuration for your physical nodes
If all goes well, you should get disconnected from your SSH connection once this script runs, because the network configuration has changed to the new static IP address. You can simply SSH into the new address to reconnect to the node.
Format second disk
The final setup of the installation is to configure the second disk. First, you’re going to identify the device name for the second disk:
lsblk
You should see some output that looks like this (some lines removed for brevity):
NAME MAJ:MIN RM SIZE RO TYPE MOUNTPOINTS
nvme1n1 259:0 0 931.5G 0 disk
nvme0n1 259:1 0 465.8G 0 disk
├─nvme0n1p1 259:3 0 1G 0 part /boot/efi
└─nvme0n1p2 259:4 0 464.7G 0 part /
In this example, you can see that ‘nvme0n1’ is the base system disk, it’s the smaller of the two (465.8G). The other disk ‘nvme1n1’ is the larger disk (931.5G) and therefore the glusterfs disk. You will need to create a partition on the glusterfs disk (make sure to use the correct device name on your system):
echo ',,L' | sudo sfdisk /dev/nvme1n1
You can verify the partition has been created:
NAME MAJ:MIN RM SIZE RO TYPE MOUNTPOINTS
nvme1n1 259:0 0 931.5G 0 disk
└─nvme1n1p1 259:2 0 931.5G 0 part
nvme0n1 259:1 0 465.8G 0 disk
├─nvme0n1p1 259:3 0 1G 0 part /boot/efi
└─nvme0n1p2 259:4 0 464.7G 0 part /
Now you can format the partition:
sudo mkfs.xfs /dev/nvme1n1p1 -f
Some may ask “Why use xfs? Isn’t ext4 or some other filesystem better?”. This is a valid question. The answer is: “For a GlusterFS cluster, xfs is recommended because it is optimized for parallel I/O operations.”
Finally, create the fstab entry and mount the glusterfs partition in preparation for creating the GlusterFS cluster:
sudo mkdir /mnt/bricks
sudo bash -c "echo '/dev/nvme1n1p1 /mnt/bricks xfs defaults 0 0' >> /etc/fstab"
sudo mount /mnt/bricks
Validate the disk configuration:
lsblk
It should look similar to this:
NAME MAJ:MIN RM SIZE RO TYPE MOUNTPOINTS
nvme1n1 259:0 0 931.5G 0 disk
└─nvme1n1p1 259:2 0 931.5G 0 part /mnt/bricks
nvme0n1 259:1 0 465.8G 0 disk
├─nvme0n1p1 259:3 0 1G 0 part /boot/efi
└─nvme0n1p2 259:4 0 464.7G 0 part /
Power Loss Recovery
Now that Ubuntu has been installed, there are a few options you’re going to want to set in the BIOS. First, reboot your node:
sudo reboot now
As the node is rebooting, press ESC repeatedly to bring up the Startup Menu:

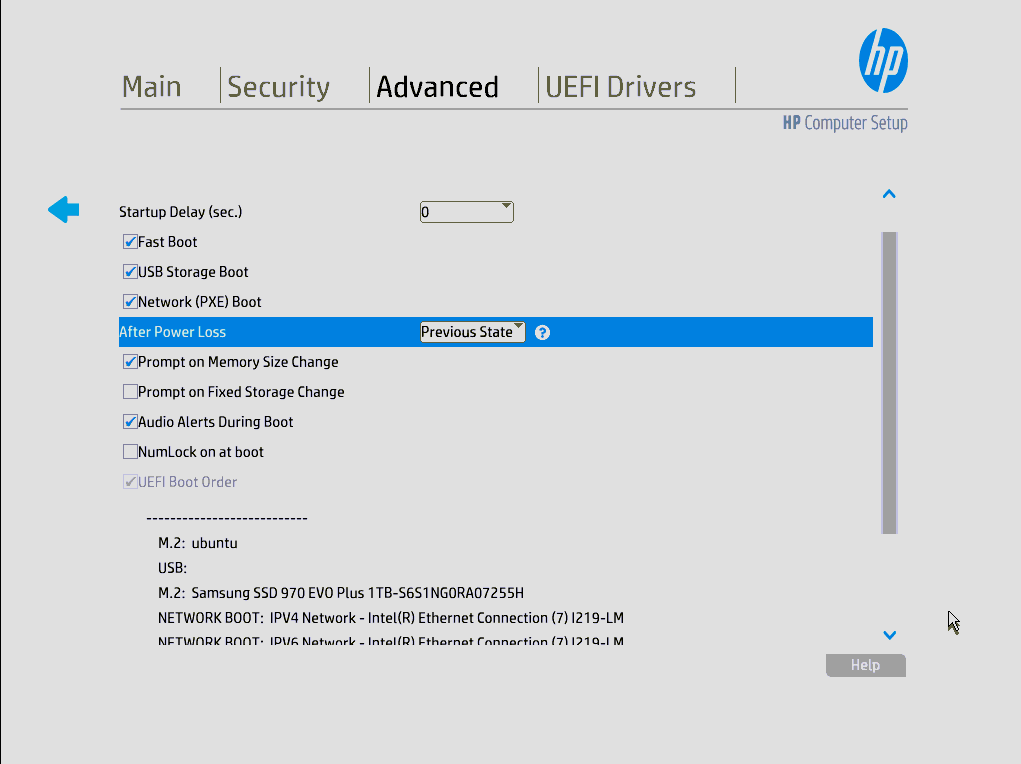
Select ‘BIOS Setup (F10)’. From the BIOS menus, use the mouse to click on ‘Advanced’ and then ‘Boot Options’. Set the ‘After Power Loss’ option to ‘Previous State’. This will automatically start your system (upon restoration of power) if it was in a running state when power was lost.
Save your settings and reboot to apply the changes.
Conclusion
Follow this installation and configuration process on all your nodes. The next parts assume you have three nodes installed and configured.