Introduction
Consul (by Hashicorp) is a ‘service networking solution to automate network configurations, discover services, and enable secure connectivity across any cloud or runtime’. For us, it’s a place where Nomad (next part) will register services and network configurations to be read and used by other products (such as Traefik, coming later). You won’t be doing much in the way of interacting directly with Consul, but it will cluster across all nodes and provide another piece of the backbone of services to make the entire project work.
Environment
For the sake of this guide, assume there are three cluster nodes with addressing such as:
node1 - 10.0.3.101
node2 - 10.0.3.102
node3 - 10.0.3.103
Performing actions as root
The ideal security model dictates that interactively operating as root is incorrect, and that operations should run as a user, using ‘sudo’ to elevate permissions where necessary. Unfortunately, almost everything that needs to be done here will require ‘sudo’, so it will be faster to just become root and run everything as root:
sudo su -
Perform the following steps on each node until instructed otherwise
Install Consul
Install the Consul service by running the following:
apt install consul -y
Download the Consul configuration playbook:
wget https://raw.githubusercontent.com/digital-dann/nomad-cluster/main/configure-consul.yaml
Edit ‘configure-consul.yaml’:
nano configure-consul.yaml
Update the ‘Set Parameters’ section:
- name: Set Parameters
  set_fact:
    datacenter: 'dc1'
    cluster_ips: '["10.0.3.101","10.0.3.102","10.0.3.103"]'
    encryption_key: 'AyXuIOdn351tptMQN1nZHMlIdMgBm32P3Ha7dbuOk3I='
The ‘datacenter’ value is customizable. If you ever intend to run clusters at different physical sites, you might choose to name datacenters on street names or city names.
The ‘cluster_ips’ should include all the addresses of your cluster nodes.
The ‘encryption_key’ should be unique per cluster, but the same across all nodes in the cluster. It can be generated by running:
consul keygen
Once you have updated the ‘configure-consul.yaml’ file, you should execute it by running:
ansible-playbook configure-consul.yaml
Start the consul service by running the following:
systemctl enable consul.service
systemctl start consul.service
Validating
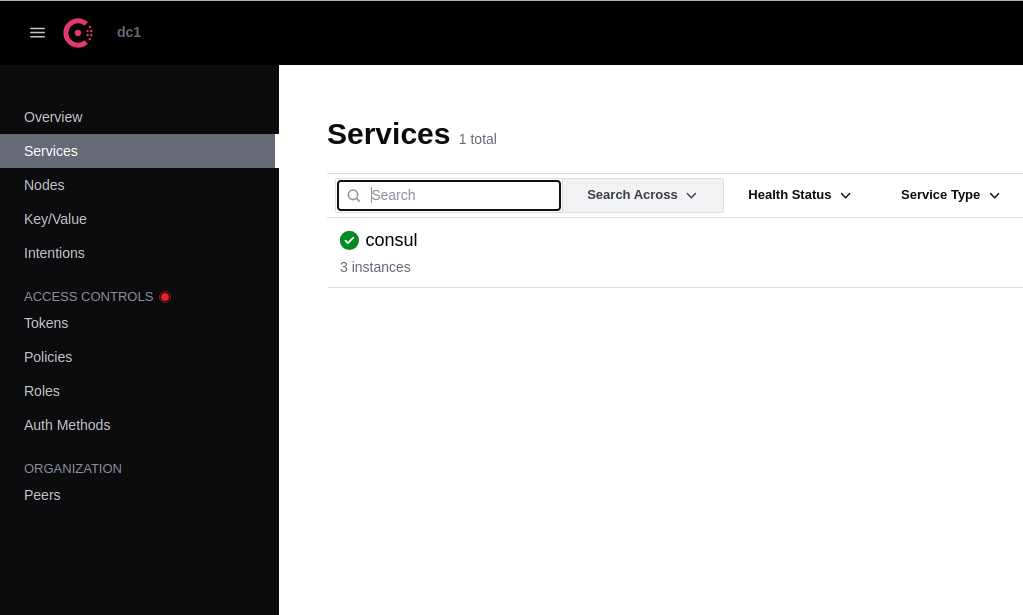
To validate Consul is running, you can open a browser to (substitute your own IP address):
http://10.0.3.101:8500/
You should see a page that looks similar to:
Consul and Security
In this very basic configuration, there is no TLS encryption configured for Consul server/server or client/server network traffic. It is best practice to set that up, but for expediency and simplicity this has been skipped. If you want to setup TLS encryption now or come back to it later, the following details the steps.
Configure TLS Security for Consul
TBD, sorry.
Conclusion
That’s it! Move on to the next part.